Capturing the Essence of Your T-Shirts: A Guide to Stunning Product Photography
The Importance of High-Quality Product Photos
In the world of e-commerce, high-quality product photos are essential for capturing the attention of potential customers and showcasing the unique features of your t-shirts. Investing time and effort into mastering the art of t-shirt photography can significantly improve your online sales and brand image.
Choosing the Right Equipment
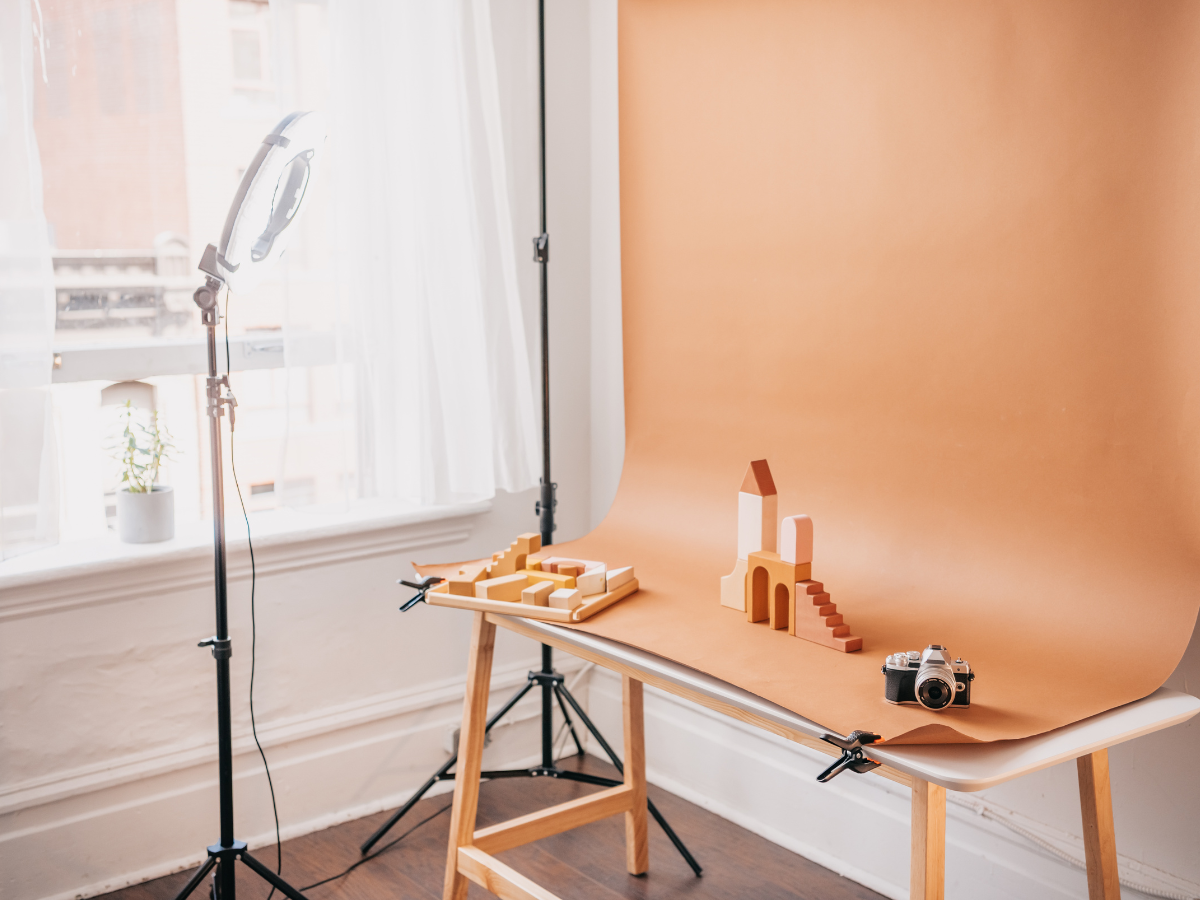
To achieve professional-looking results, invest in a good quality camera, such as a DSLR or mirrorless camera, and a tripod for stability. You’ll also need a well-lit space, either using natural light from a window or artificial lighting like softboxes or ring lights. Consider using a white or light-colored backdrop for a clean, minimalist look.
Setting Up Your Studio
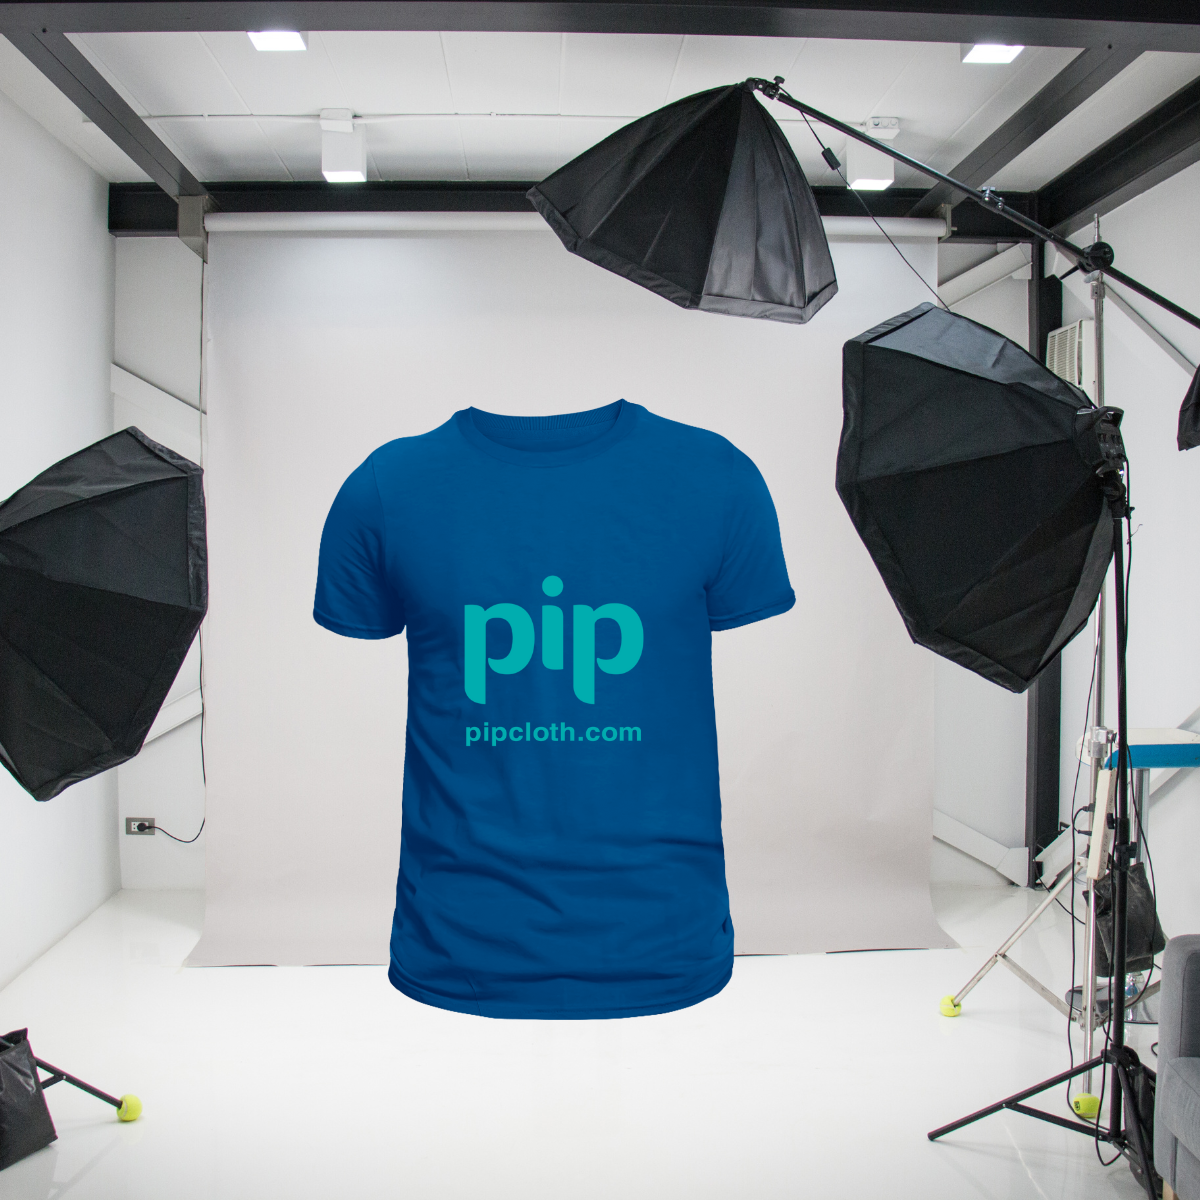
Create a dedicated space for your t-shirt photography, ensuring that it’s clean, clutter-free, and well-lit. Set up your backdrop and lighting equipment, and make sure your camera is properly positioned and focused. Use a mannequin or ghost model to showcase your t-shirts in a more realistic and appealing way.
Mastering Lighting Techniques
Proper lighting is crucial for highlighting the colors, textures, and details of your t-shirts. Experiment with different lighting setups, such as side lighting or backlighting, to create depth and dimension. Use reflectors or diffusers to soften harsh shadows and even out the light distribution.
Styling Your T-Shirts for the Camera
Take the time to properly style your t-shirts before photographing them. Use a steamer or iron to remove any wrinkles or creases, and arrange the shirt in a way that showcases its best features. Consider using props or accessories to add visual interest and context to your shots.
Editing Your Photos for Maximum Impact
Post-processing your t-shirt photos can help enhance their overall quality and visual appeal. Use photo editing software like Adobe Photoshop or Lightroom to adjust the brightness, contrast, and color balance of your images. Remove any blemishes or imperfections, and consider adding subtle effects or filters to create a cohesive and professional look.
Optimizing Your Images for Online Use
When preparing your t-shirt photos for online use, make sure to optimize them for web viewing. Resize your images to the appropriate dimensions for your e-commerce platform or website, and compress them to reduce file size without sacrificing quality. Use descriptive file names and alt tags to improve your images’ search engine visibility.
By following these tips and mastering the art of t-shirt photography, you can create stunning, professional-looking images that showcase your products in the best possible light. High-quality photos can help you stand out in a competitive market and attract more customers to your brand.
Introduction
In the world of e-commerce and online branding, high-quality t-shirt photography is essential for attracting customers, increasing sales, and building a strong brand identity. Mastering the art of t-shirt photography involves a combination of technical skills, creative vision, and attention to detail. In this comprehensive guide, we’ll explore the key elements of creating stunning t-shirt photos that showcase your products in the best possible light. From planning your shoot and setting up your studio to capturing the perfect shot and optimizing your images for online stores, we’ll cover everything you need to know to elevate your t-shirt photography game.
Planning Your T-Shirt Photography Shoot
Before diving into the technical aspects of t-shirt photography, it’s crucial to plan your shoot carefully. This section will guide you through the process of defining your target audience, creating a shot list, and gathering inspiration to ensure a successful and efficient photo shoot.
Defining your target audience and brand style
Understanding your target audience is the foundation of creating compelling t-shirt photos that resonate with your customers. Consider factors such as age, gender, interests, and lifestyle when defining your target audience. For example, if your t-shirts cater to a younger, fashion-forward demographic, your photography style should reflect their preferences with trendy, vibrant, and dynamic images.
Aligning your photography style with your brand identity is equally important. Your brand’s personality, values, and aesthetic should be consistently communicated through your t-shirt photos. Whether your brand is minimalist and sophisticated or bold and edgy, ensure that your photography style reinforces your brand message.
Creating a shot list and production schedule
A well-organized shot list and production schedule are essential for a smooth and efficient t-shirt photography shoot. Start by identifying the t-shirt styles, colors, and sizes you need to photograph. Consider creating a spreadsheet or using a project management tool to keep track of your shot list and ensure that no important products are overlooked.
Next, plan the order and timeline of your photo shoot. Break down your shot list into manageable sessions, taking into account the time needed for styling, lighting setup, and post-processing. Be sure to allocate sufficient time for breaks and contingencies to avoid burnout and ensure a high-quality output.
Gathering inspiration and reference images
Before your photo shoot, take some time to gather inspiration and reference images that align with your brand style and target audience. Research successful t-shirt photography examples from competitors, fashion brands, and online marketplaces. Analyze the composition, lighting, and styling techniques used in these images and consider how you can adapt them to your own photography.
Creating a mood board is a helpful way to visualize your creative direction and ensure consistency throughout your photo shoot. Use platforms like Pinterest, Instagram, or Adobe Spark to curate a collection of images, color palettes, and design elements that inspire your t-shirt photography. Share your mood board with your team to ensure everyone is on the same page and working towards a cohesive vision.
Setting Up Your T-Shirt Photography Studio
A well-equipped and properly set up photography studio is the backbone of creating high-quality t-shirt images. In this section, we’ll discuss the key considerations for choosing a studio space, essential equipment, and optimal workflow arrangement.
Choosing the right space for your studio
When selecting a space for your t-shirt photography studio, consider factors such as size, layout, and natural light availability. Ideally, your studio should be large enough to accommodate your shooting area, lighting equipment, and styling station without feeling cramped or cluttered. A rectangular layout with high ceilings is often preferable for flexibility and ease of movement.
If possible, choose a space with ample natural light, as this can be a valuable asset for certain shooting scenarios. However, ensure that you have the ability to control and modify the natural light with curtains, blinds, or diffusers to maintain consistent lighting conditions throughout your shoot.
Essential equipment for t-shirt photography
Investing in high-quality equipment is crucial for achieving professional-grade t-shirt photos. Here are the key pieces of equipment you’ll need:
- Cameras and lenses
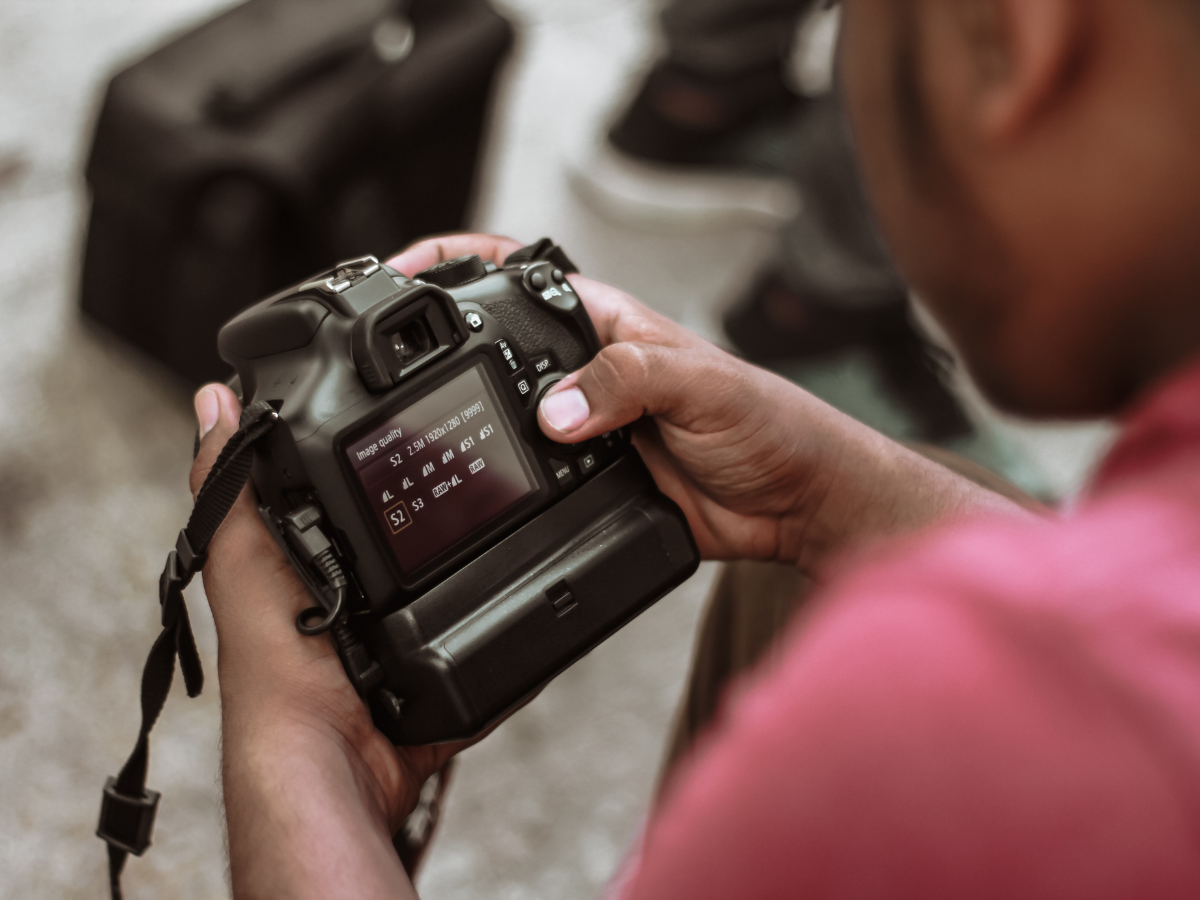
- DSLR or mirrorless cameras with manual controls and high resolution
- Prime lenses (e.g., 50mm, 85mm) for sharp details and shallow depth of field
- Zoom lenses for versatility and capturing various angles and perspectives
- Lighting equipment
- Studio strobe lights or continuous LED lights for consistent and controllable lighting
- Light stands and modifiers (softboxes, umbrellas, reflectors) for shaping and diffusing light
- Light meters for accurate exposure measurements and consistent results
- Tripods and stands
- Sturdy tripods for camera stability and sharp images
- T-shirt stands or mannequins for displaying products in a professional manner
- Backdrops and surfaces
- Seamless paper or vinyl backdrops in various colors for clean and distraction-free backgrounds
- Wooden or textured surfaces for adding depth and interest to flat lay shots
Arranging your studio for optimal workflow
An efficient studio arrangement can greatly improve your productivity and minimize frustration during your t-shirt photography shoot. Create designated areas for styling, shooting, and post-processing, ensuring that each station is well-organized and equipped with the necessary tools and accessories.
For example, your styling station should have a steamer, lint roller, clips, and pins readily available for preparing your t-shirts. Your shooting area should have your camera, tripod, and lighting equipment set up and easily accessible. And your post-processing station should have a calibrated monitor, graphics tablet, and reliable storage solutions for seamless image editing and management.
Mastering T-Shirt Photography Lighting Techniques
Lighting is perhaps the most critical aspect of t-shirt photography, as it can make or break the quality and impact of your images. This section will delve into the intricacies of lighting techniques, equipment, and setups for various t-shirt styles and designs.
Understanding the role of lighting in t-shirt photography
Effective lighting in t-shirt photography serves several key purposes:
- Creating depth and dimension: Proper lighting helps to create a sense of depth and dimension, highlighting the contours and textures of the t-shirt fabric.
- Emphasizing design elements: Lighting can be used to draw attention to specific design elements, such as graphics, logos, or text, making them stand out and catch the viewer’s eye.
- Setting the mood and tone: The quality and direction of light can greatly influence the mood and tone of your t-shirt photos, from soft and ethereal to bold and dramatic.
Natural light vs. artificial light
When it comes to lighting your t-shirt photography, you have two main options: natural light and artificial light. Each has its advantages and disadvantages, and the best choice will depend on your specific shooting scenario and desired aesthetic.
Natural light, such as sunlight from a window, can provide a soft, warm, and inviting quality to your t-shirt photos. It’s also a cost-effective option, as you don’t need to invest in expensive lighting equipment. However, natural light can be inconsistent and difficult to control, especially if you’re relying on weather conditions or shooting at different times of day.
Artificial light, such as studio strobe lights or continuous LED lights, offers greater control and consistency. With artificial lighting, you can precisely adjust the intensity, direction, and quality of light to achieve your desired look. However, artificial lighting does require an investment in equipment and a learning curve to master the techniques.
Types of studio lighting for t-shirt photography
When it comes to artificial lighting for t-shirt photography, there are two main types: continuous lighting and strobe lighting.
- Continuous lighting
- LED panels and softboxes are popular continuous lighting options, providing a constant and predictable light source.
- Continuous lighting allows you to see the lighting effect in real-time, making it easier to adjust and fine-tune your setup.
- However, continuous lighting may generate more heat and require higher ISO settings, which can introduce noise into your images.
- Strobe lighting
- Monolight and pack-and-head systems are common strobe lighting options, offering powerful bursts of light synchronized with your camera’s shutter.
- Strobe lighting provides a more powerful and efficient light source, allowing for lower ISO settings and faster shutter speeds.
- However, strobe lighting has a steeper learning curve, as you can’t see the lighting effect until after the image is captured.
Lighting setups for various t-shirt styles and designs
Different t-shirt styles and designs may require specific lighting setups to showcase their unique features and characteristics. Here are a few common scenarios:
- Flat lay lighting: For flat lay t-shirt shots, a soft and even lighting setup is often preferred. Use a large softbox or diffuser directly above the t-shirt to minimize shadows and create a clean, crisp look.
- Ghost mannequin lighting: When shooting t-shirts on a ghost mannequin, a two-light setup can help to create a realistic and three-dimensional effect. Place one light on either side of the mannequin, slightly behind and angled towards the center, to highlight the contours and edges of the t-shirt.
- Dramatic lighting: For more artistic and eye-catching t-shirt photos, experiment with dramatic lighting techniques, such as side lighting or backlighting. Use a single light source positioned at a steep angle to create strong shadows and highlights, emphasizing the texture and depth of the fabric.
Softboxes, diffusers, and reflectors for controlling light
Light modifiers are essential tools for shaping, softening, and directing light in your t-shirt photography. Here’s a quick overview of the most common modifiers:
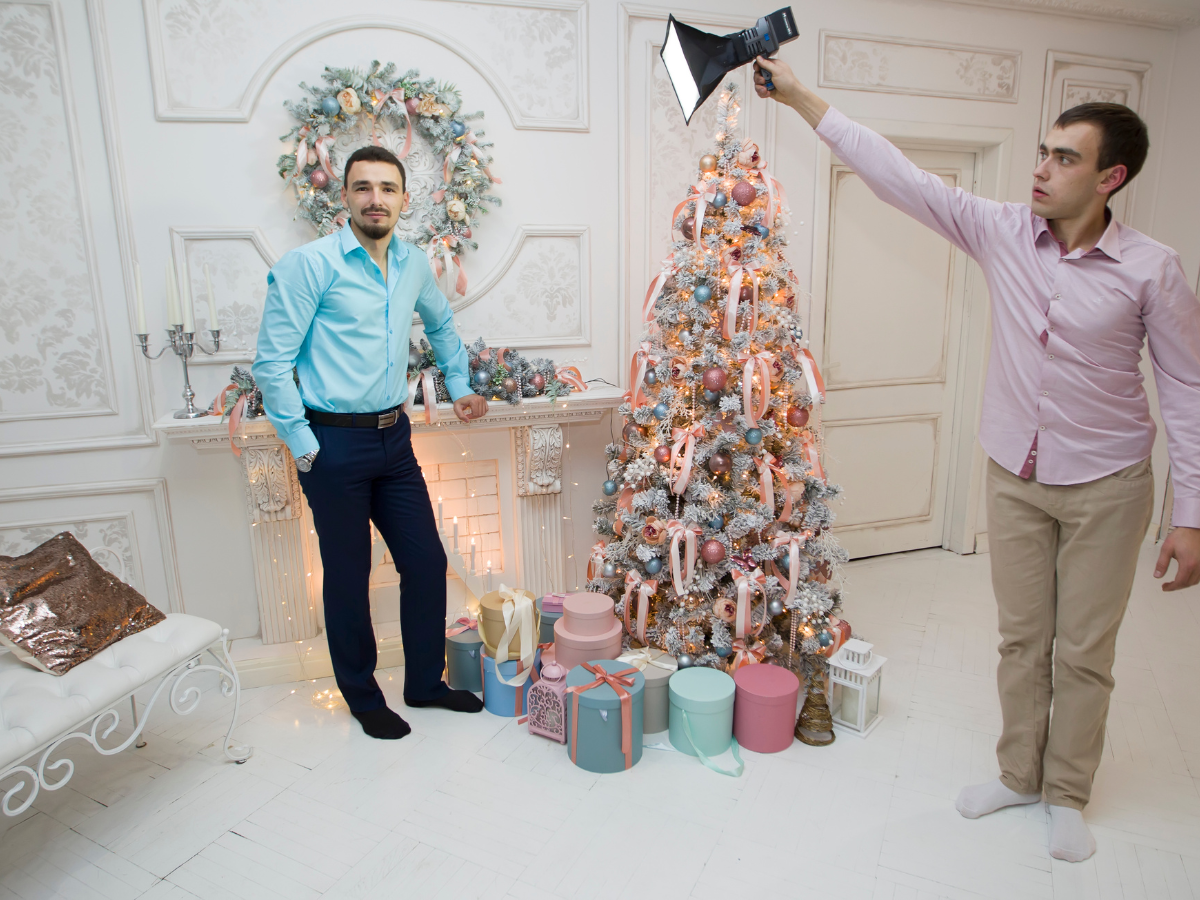
- Softboxes: These are enclosed boxes with a white, translucent front panel that diffuses and softens the light, creating a more even and flattering illumination.
- Umbrellas: Reflective or shoot-through umbrellas are an affordable and versatile option for bouncing or diffusing light, creating a soft and wraparound effect.
- Diffusers: Translucent panels or fabrics placed between the light source and the subject help to soften and spread the light, reducing harsh shadows and hotspots.
- Reflectors: White, silver, or gold reflectors are used to bounce light back onto the subject, filling in shadows and adding highlights for a more balanced and dimensional look.
By understanding and mastering these lighting techniques and tools, you’ll be well-equipped to create stunning and professional-grade t-shirt photos that showcase your products in the best possible light.
Styling and Preparing T-Shirts for Photography
While lighting and technical skills are crucial for t-shirt photography, the way you style and prepare your products can make a significant impact on the final result. This section will cover the essential techniques and considerations for selecting, prepping, and styling your t-shirts for the camera.
Selecting the right t-shirts for your photo shoot
When choosing t-shirts for your photography shoot, consider the following factors:
- Fabric types: Different fabrics, such as cotton, polyester, or blends, can have distinct textures, draping properties, and light-reflecting qualities. Select t-shirts with fabrics that align with your brand identity and desired aesthetic.
- Colors: Choose t-shirt colors that complement your brand palette and appeal to your target audience. Consider featuring a range of colors to showcase the variety of your product line and cater to different customer preferences.
- Designs: Select t-shirts with designs that represent your brand’s style and message. If you offer a variety of graphic tees, choose designs that are visually striking, on-trend, and likely to resonate with your target market.
Ironing and steaming techniques for wrinkle-free t-shirts
Wrinkled or creased t-shirts can distract from your product’s quality and professionalism. To ensure your t-shirts look their best on camera, follow these ironing and steaming tips:
- Ironing: Use a high-quality iron with adjustable temperature settings suitable for the t-shirt fabric. Place a protective cloth between the iron and the t-shirt to avoid scorching or shiny marks. Iron in smooth, even strokes, paying extra attention to the collar, seams, and hems.
- Steaming: Handheld garment steamers are a quick and efficient way to remove wrinkles and freshen up t-shirts. Hold the steamer a few inches away from the fabric and work in downward motions, allowing the steam to penetrate and relax the fibers. Be careful not to touch the t-shirt directly with the steamer, as this may cause water spots or damage to the fabric.
Using mannequins, hangers, and flat lay techniques
There are several common methods for displaying t-shirts in product photography, each with its own advantages and considerations:
- Mannequins: Using a mannequin can help to showcase the fit, drape, and shape of a t-shirt in a realistic and relatable way. Choose a mannequin style that complements your brand aesthetic and ensure that it’s clean, free of scuffs, and properly sized for your t-shirts.
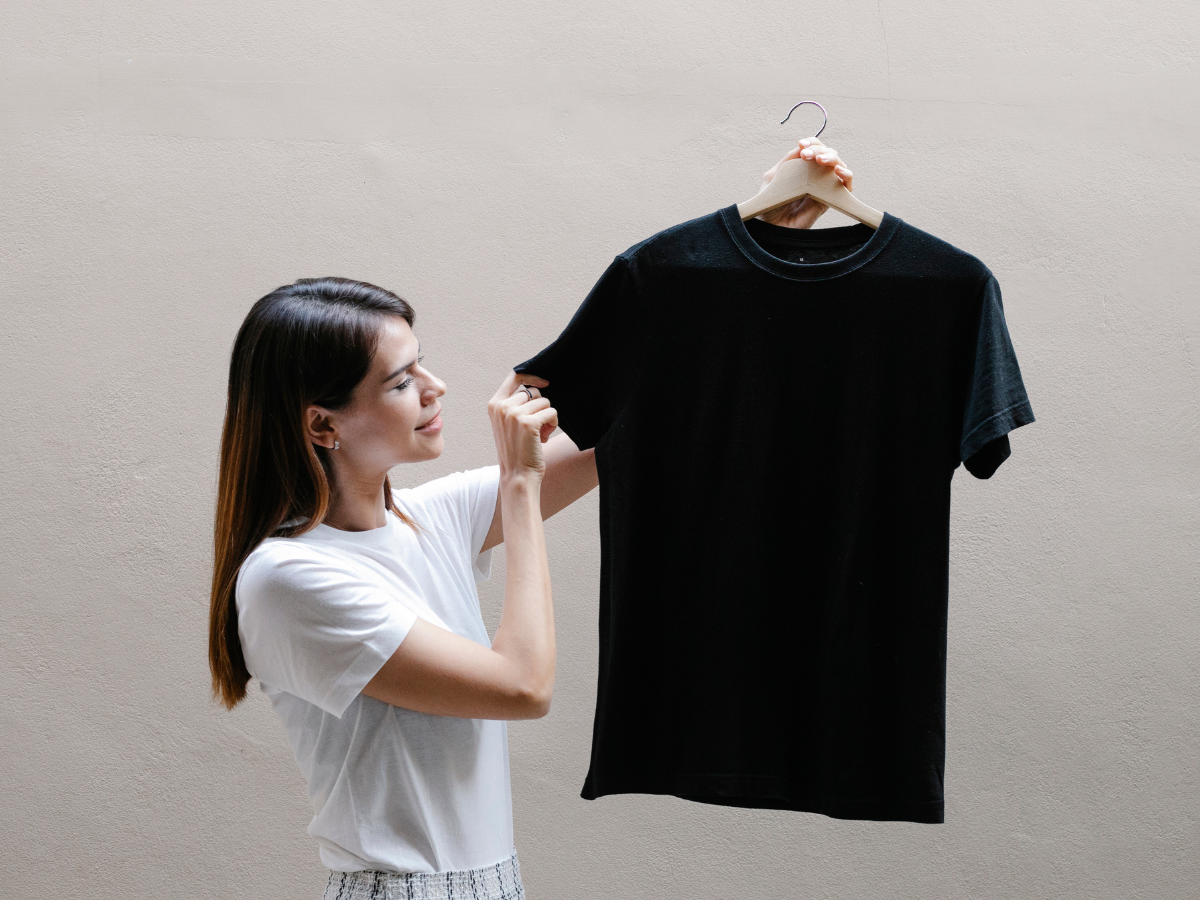
- Hangers: Photographing t-shirts on hangers is a simple and cost-effective option that can work well for e-commerce and catalog purposes. Select high-quality, non-distracting hangers that match your brand colors or opt for an invisible fishing line setup for a floating effect.
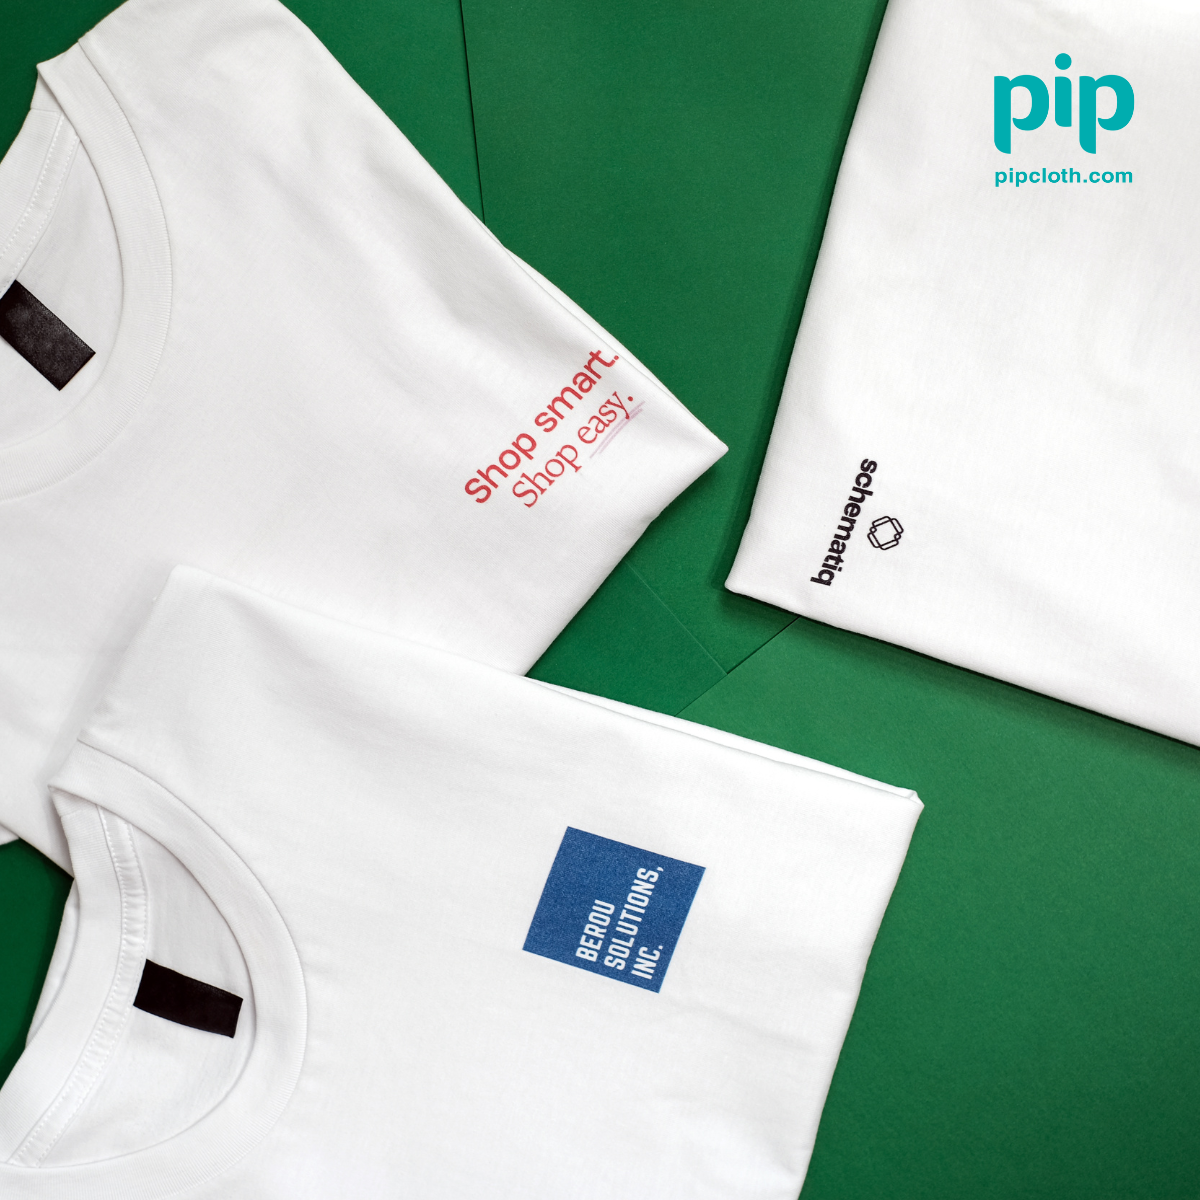
- Flat lay: Flat lay photography involves arranging t-shirts on a flat surface and shooting from directly above. This technique is ideal for showcasing t-shirt graphics, patterns, and colors in a clean and artistic manner. Experiment with different folding and arrangement styles to create visually appealing compositions.
Tailoring Hoodie Styles to Different Body Shapes and Sizes
Creating ghost mannequin effects for invisible models
Ghost mannequin photography is a popular technique that creates the illusion of an invisible model wearing the t-shirt, providing a 3D perspective without the distraction of a mannequin or hanger. To achieve this effect:
- Photograph the t-shirt on a mannequin from the front and back, ensuring that the edges of the shirt are clearly visible.
- Carefully remove the mannequin and photograph the inside of the t-shirt, focusing on the collar, sleeves, and hem.
- Use photo editing software like Adobe Photoshop to combine the front, back, and inside images, erasing the mannequin and creating a seamless, invisible effect.
Accessorizing and styling t-shirts for enhanced visual appeal
Elevate your t-shirt photography by incorporating complementary accessories and props that add context, depth, and visual interest to your shots. Consider the following styling ideas:
- Layering: Style your t-shirts with jackets, flannel shirts, or knitwear to showcase versatility and suggest outfit ideas for your customers.
- Accessories: Add hats, sunglasses, jewelry, or watches to your t-shirt flat lays or mannequin setups to create a cohesive and fashionable look.
- Lifestyle props: Incorporate relevant props, such as books, coffee mugs, or plants, to create a lifestyle-inspired scene that resonates with your target audience and communicates your brand story.
FAQ Section:
Q1: What is the optimal camera resolution for capturing high-quality t-shirt photos?
For professional-grade t-shirt photography, it’s recommended to use a camera with a resolution of at least 24 megapixels. This ensures that your images will have sufficient detail and clarity, even when zoomed in or printed in large formats. Higher resolution cameras, such as those with 36 or 42 megapixels, can provide even greater detail but may not be necessary for most e-commerce applications.
Q2: How many lights are typically needed for a basic t-shirt photography setup?
A basic t-shirt photography setup can be achieved with just two lights: a main light and a fill light. The main light, often a softbox or umbrella, is positioned to illuminate the t-shirt from the front or slightly off-center. The fill light is placed opposite the main light to soften shadows and provide even lighting across the garment. Additional lights, such as background lights or accent lights, can be added for more advanced setups.
Q3: What is the ideal aperture setting for achieving sharp focus and detail in t-shirt photos?
For crisp, detailed t-shirt photos, it’s best to use an aperture setting between f/8 and f/11. This aperture range provides a good balance between depth of field and sharpness, ensuring that the entire t-shirt is in focus. Avoid using wider apertures, such as f/2.8 or f/4, as they can result in a shallow depth of field and blurry areas on the garment.
Q4: How can I create a pure white background for my t-shirt photos without post-processing?
To achieve a pure white background in-camera, you’ll need to use a combination of proper lighting and exposure settings. Start by setting up a white seamless backdrop or whiteboard behind your t-shirt. Position two lights on either side of the backdrop, pointing towards the center to evenly illuminate the background. Adjust your camera’s exposure settings, such as increasing the shutter speed or decreasing the aperture, until the background appears pure white without overexposing the t-shirt itself.
Q5: What is the best image file format for saving and exporting t-shirt photos?
When saving and exporting your t-shirt photos, it’s recommended to use the TIFF (Tagged Image File Format) file format. TIFF files are lossless, meaning they preserve all the original image data and quality. This format is ideal for archiving high-resolution master copies of your photos. For web usage and faster loading times, you can export your t-shirt images as high-quality JPEGs with minimal compression.
Q6: How can I minimize wrinkles and creases when photographing t-shirts?
To minimize wrinkles and creases in your t-shirt photos, start by properly preparing the garments before the shoot. Use a garment steamer or iron to remove any existing wrinkles. When placing the t-shirt on a mannequin or flat surface, smooth out the fabric carefully, paying attention to the sleeves, collar, and hem. Use clips or pins to hold the t-shirt in place and maintain a smooth appearance. If necessary, you can also use a lint roller to remove any dust or stray fibers.
Q7: What is the optimal distance between the camera and the t-shirt for product photography?
The optimal distance between your camera and the t-shirt depends on the focal length of your lens and the desired framing of the shot. As a general guideline, position your camera about 4-6 feet away from the t-shirt when using a standard 50mm lens. This distance allows you to capture the entire garment while maintaining a natural perspective. If using a longer focal length, such as 85mm or 100mm, you may need to move further back to achieve the same framing.
Q8: How many product photos should I take for each t-shirt to provide a comprehensive view for online shoppers?
To provide a comprehensive view of each t-shirt for online shoppers, it’s recommended to take at least 5-7 product photos per garment. These shots should include:
- Front view
- Back view
- Side view
- Close-up of any graphics, logos, or design details
- Close-up of the fabric texture or material
- Lifestyle or model shot showing the t-shirt in context
- Additional shots showcasing different colorways or size options
Q9: What is the best way to showcase t-shirt size and fit information in product photos?
To effectively showcase t-shirt size and fit information, consider including the following in your product photos:
- Model shots: Photograph the t-shirt on models of different sizes and body types to give shoppers a better idea of how the garment fits and drapes.
- Size charts: Include a clear, easy-to-read size chart image that displays the t-shirt’s measurements, such as chest width, body length, and sleeve length.
- Comparison photos: Take photos of the t-shirt folded or laid flat next to a common object, such as a ruler or a standard-sized item, to provide a visual reference for size.
- Detailed descriptions: In the product description, include information about the t-shirt’s fit (e.g., slim, regular, or relaxed), fabric stretch, and any specific sizing recommendations.
Q10: How often should I calibrate my monitor for accurate color representation in t-shirt photos?
To ensure accurate color representation in your t-shirt photos, it’s important to calibrate your monitor regularly. The frequency of calibration depends on factors such as the type of monitor, its age, and the ambient lighting conditions in your workspace. As a general rule, it’s recommended to calibrate your monitor at least once a month. However, if you notice any color inconsistencies or shifts in your images, or if you’re working on a critical project, you may need to calibrate more frequently, such as every week or even before each photo editing session. Using a hardware colorimeter and professional calibration software can help you maintain consistent and accurate color display.

